

How to Align and Calibrate a School Microscope
페이지 정보
작성자 Leslee 작성일26-01-08 00:24 조회7회 댓글0건관련링크
본문
Proper setup of a classroom microscope is a fundamental ability for science instruction to ensure accurate observations and reliable results during science lessons. Correct alignment improves visual sharpness, minimizes fatigue, and instills sound lab habits.
Follow these easy, step-by-step instructions—no technical background or rare tools are necessary.
Begin by placing the microscope on a stable, level surface away from direct sunlight or bright light sources that could create glare on the lenses.
Make sure the power cable is secured out of the way and the lighting component is fully operational.
If the microscope uses a mirror instead of a built-in lamp, adjust the mirror so it reflects ambient light upward through the stage aperture.
Activate the built-in lighting and adjust the knob to a balanced intensity—bright enough to see, dim enough to preserve detail.
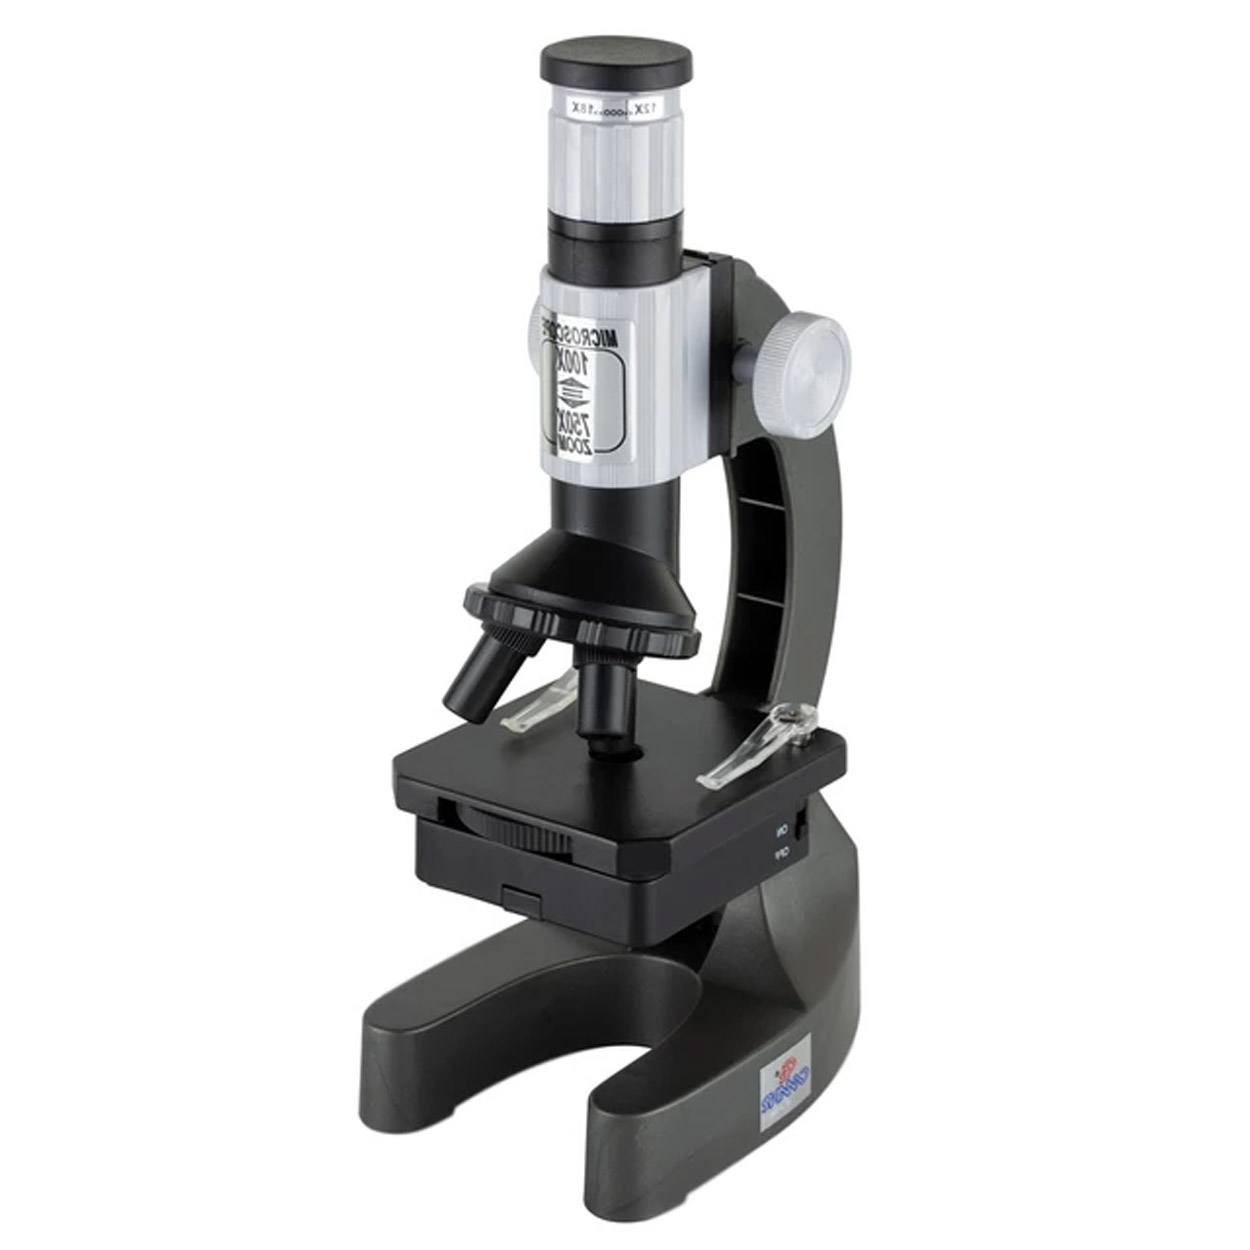
Turn the revolving turret until the smallest magnification objective—typically 4x or 10x—locks directly above the stage.
Confirm that the objective is firmly seated with an audible snap.
Position the glass slide on the platform and fasten it using the spring-loaded clips designed to hold slides steady.
Center the specimen directly over the light path by moving the slide with the mechanical stage controls or by hand if no stage controls are present.
Peering into the eyepiece, slowly rotate the coarse focus knob until the specimen materializes as a blurred shape.
When the specimen is barely visible, turn the fine focus dial to bring out sharp, clear features.
Do not use the coarse focus knob when using higher magnification lenses, as it can cause the lens to crash into the slide and damage both components.
Now align the illumination.
Lighting should be consistent from edge to edge, without shadows or hotspots.
Most classroom models include a condenser unit positioned under the platform.
Raise the condenser to its highest position, just below the stage.
Start with the diaphragm wide open, then narrow it slowly until the illumination becomes crisp and balanced.
Certain models feature an aperture or field diaphragm—tune these to fit the view’s diameter and خرید میکروسکوپ دانش آموزی cut unnecessary brightness.
For verification, take out one ocular lens and peer into the barrel.
A perfectly centered, bright circle should fill your view.
If illumination is skewed, use the dual centering screws—typically found on the condenser’s outer casing—to reposition it.
Slowly fine-tune the screws, watching the field until the light is concentric and evenly distributed.
Calibration verifies precision in measurements taken with either the eyepiece or stage micrometer.
Start with a reference slide that contains a known, accurate scale, then mount it on the stage.
Obtain sharp focus on the scale’s markings using the lowest magnification setting.
Then, replace it with an ocular micrometer, which is a glass disc with markings that fits inside the eyepiece.
Align the two scales so their lines overlap.
Note how many ocular units align with a fixed length on the stage scale—like 10 stage units matching 5 ocular units.
Divide the actual distance (e.g., 10 micrometers) by the number of ocular divisions it spans to find the unit value.
You must repeat the alignment and calculation for each lens, since magnification alters the scale relationship.
Record these calibration factors for future reference.
This calibration is critical when conducting measurements—like determining cell diameter or bacterial length.
Post-calibration, wipe optics exclusively with lens tissue and a minimal amount of approved cleaning fluid.
Never use tissue paper, cloth, or fingers, as these can scratch the delicate glass.
Turn off the light source and lower the stage before storing the microscope.
Position the objective at minimum magnification and secure the microscope under its dust shield.
To preserve accuracy, schedule regular checks and recalibrations throughout the school year.
Make it mandatory for students to complete all steps before and after each use to foster responsible lab conduct.
A well-maintained microscope not only yields better results but also fosters confidence and curiosity in young scientists.
댓글목록
등록된 댓글이 없습니다.